


A better-looking home screen, Do Not Disturb, longer battery life and more reliable unlocking are all instantly achievable on your iPhone with some quick settings changes.
Apple's entire iPhone 12 lineup is a hit. From the iPhone 12 Mini that punches above its weight, to the iPhone 12 and 12 Pro that offer few compromises, to the iPhone 12 Pro Max and its stellar camera and battery life -- there's something to love about each and every model.Whether you're getting one as a gift this holiday season or you're giving one to yourself, you're sure to love it.
With the addition of a new MagSafe wireless charging and accessory platform, fancy camera tricks and 5G, there's a lot to learn. The iPhone 12 lineup comes with iOS 14 installed out of the box, which has its own set of new features. Believe it or not, Apple's default settings aren't always the best to help you get the most out of your iPhone. We'll take you through a few steps that will make your new iPhone 12 even better.
For instance, if you live somewhere with zero or spotty 5G coverage, there's no reason to keep 5G on. Do Not Disturb is disabled right out of the box, which means your iPhone will continue to beep at you throughout the night, causing light sleepers to wake up. Who wants that? Instead, a dip into settings can automatically silence your phone all night long, take advantage of dark mode to save battery life and put Control Center to work for you by changing your phone's settings.
Read on for all our tips, and note that we update this article as Apple adds new features and settings.
1. Don't have or want 5G coverage? Turn it off
Apple's four iPhone 12 models are the first from the company to ship with support for 5G, a mostly faster and more reliable cellular connection. As carriers continue to roll out their 5G networks, however, some iPhone 12 owners (including me) will have to wait for 5G access.
Apple touts a Smart Data feature that's specific to the iPhone 12 that will automatically switch between 4G LTE and 5G networks -- without you having to know or do a thing -- based on how you're using the iPhone 12. The automatic switch is part of an effort to improve battery life. However, you may find that your iPhone 12's battery drains faster than it did before. If you don't want to sacrifice battery life for faster 5G speeds, shut it down. You can always turn 5G back on when you want it, or when service in your area improves.
To turn off 5G on your iPhone 12, forcing it to always use 4G LTE even if you have 5G coverage, open the Settings app then go to Cellular > Cellular Data Options > Voice & Data and tap LTE.
Alternatively, if you want your iPhone 12 to exclusively use a 5G connection when available, you can select 5G On.
5G is nice, if you have access to it, but it can also be a battery hog.
2. Fine-tune how much data is used on a 5G connection
If you're happy with 5G performance, here's a network-related setting you should check out. Go to Settings > Cellular > Cellular Data Options > Data Mode where you'll find three different options: Allow more data on 5G, Standard and Low Data Mode.
Even though there are brief descriptions below the three different settings, they don't paint a complete picture for the first option. According to an Apple support document, allowing more data on 5G will give you high-quality video and FaceTime calls, and it also means that your phone can download software updates, stream high-definition Apple TV and Apple Music content, and allows third-party developers to also improve their respective apps.
The default setting on this page will depend on your carrier and your data plan, so it's a good idea to check your iPhone 12 and make sure it's set to your preference.
3. iOS 14 changed the incoming call alert -- change it back
Prior to iOS 14, whenever your iPhone is unlocked and being used -- to check email, for example -- and someone called, the incoming call screen would take over your entire display. It's disruptive, sure, but you were also very aware that your phone was ringing.
Starting with iOS 14, however, Apple changed the incoming call prompt to look more like a typical alert. That is, a small notification that shows up near the top of the screen when you're using your phone. On more than one occasion I've nearly missed a call because I brushed off the alert as yet another annoying notification that didn't immediately need my attention.
To get the full-screen incoming call alert back, go to Settings > Phone > Incoming Calls and tap Full Screen.
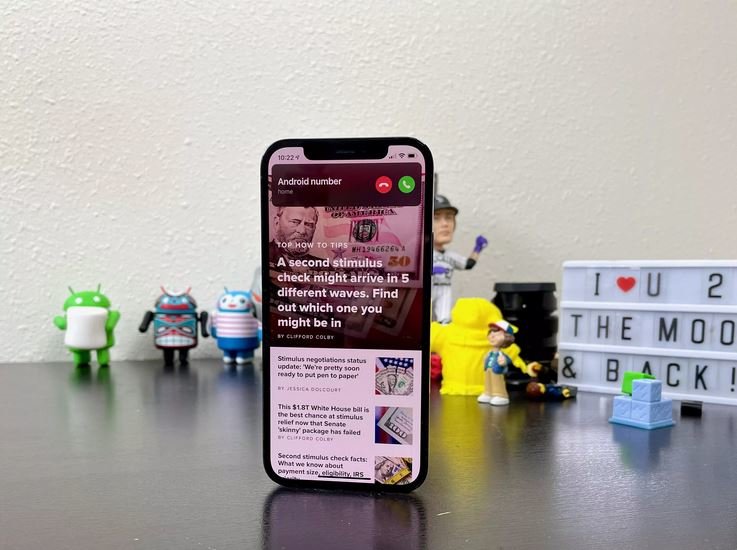
The new incoming call alert isn't ideal for some.
4. . Show full notifications on your lock screen
If the iPhone 12 is your first experience with Apple's Face ID tech, you'll notice that you can't see the contents of new alerts and notifications on the lock screen. For example, instead of seeing who sent you a text message and what it says, you'll only see a generic Messages alert.
By default, all iPhones with Apple's Face ID tech will hide the contents of an alert until you pick up your phone and unlock it by looking at it. It's a privacy feature that I rather enjoy, but I also get how it can be annoying (and have heard a few complaints from readers and family members alike).
You can change how notifications appear on your lock screen by going to Settings > Notifications > Show Previews and select Always. Conversely, you can select Never if you want to keep the contents of your notifications always hidden on the lock screen.
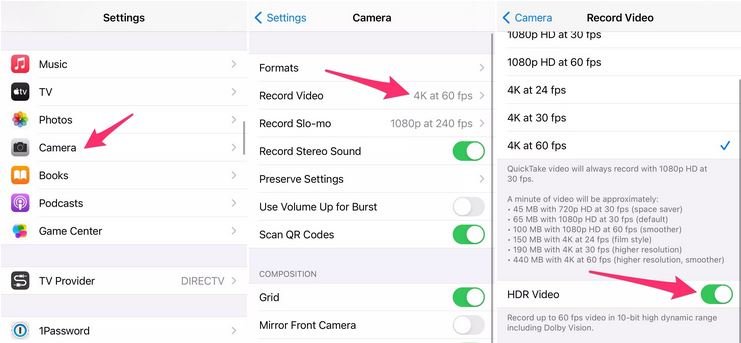
HDR video looks great, but it doesn't work everywhere yet.
5. You might want to turn off this camera feature... for now
Every iPhone 12 model received modest camera updates, one of which is the ability to record HDR -- or high dynamic range -- video with Dolby Vision. All that jargon means your videos will be brighter with more accurate colors and improved contrast. Sounds awesome, right? It is. I recorded a video a few nights ago with the iPhone 12 Pro and it actually made me say "whoa." But there's a problem -- not every app or service will work with HDR video.
Right now, that means when you upload a video to Facebook or Instagram, the colorful video you see on your iPhone 12 will look overly bright and lose some of its magic. Developers will need to update their app(s) in order to accept HDR video, but even then, the person viewing the video will need a capable device to see the HDR difference. For Apple devices, that includes the iPhone 8 or newer, the 2020 iPad Air, second-gen iPad Pro and some Macs.
So, what can you do? Well, you have a few options:
* You can turn off HDR video by going to Settings > Camera > Record video and turn the switch next to HDR Video to the Off position. Going forward, all videos will be captured in standard dynamic range, and you won't have any issues sharing or editing it.
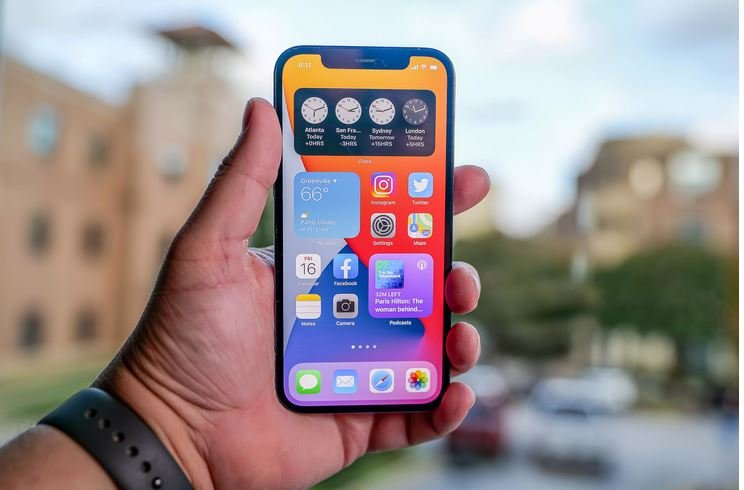
Customize your home screen on iOS 14 and the iPhone 12.
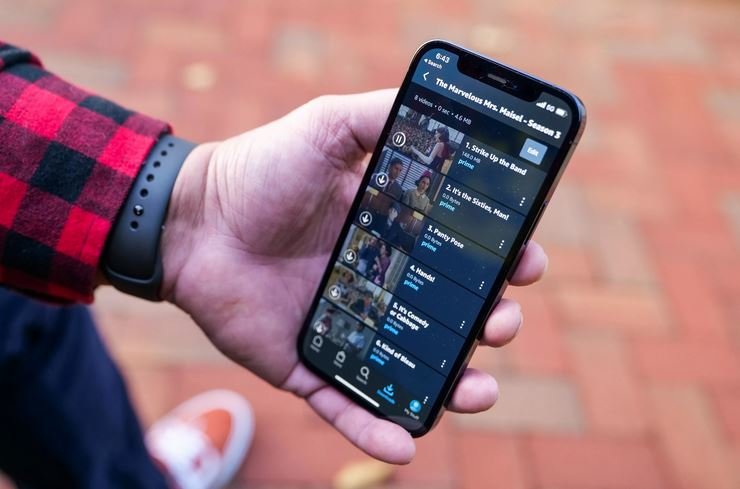
6. Avoid home screen app clutter
With the release of iOS 14, iPhone users have more options and control over what their home screen looks like than ever before. The new App Library, for example, acts as an app drawer, allowing you to remove apps from your home screen without deleting them. Heck, you can even fully customize your phone's look with different app icons and widgets -- it's very Android-like, and there's nothing wrong with that.
If you like the minimal look, then you'll want to make sure that newly installed apps aren't automatically placed on your home screen every time you download an app. Or, on the flip side, if you don't want new apps to go directly to the App Library where you're sure to forget about their existence after a day or two, go to Settings > Home Screen and select either Add to Home Screen or App Library Only.
7. Turn on Do Not Disturb
I often wonder how I got a full night of sleep before Do Not Disturb was added to iOS. When turned on, Do Not Disturb silences all alerts on your iPhone, either using a set schedule or on demand. Your notifications will still be waiting for you when you wake up in the morning, but by turning on DND, your phone won't make so much as a beep or a ping about Facebook updates and work emails.
If you're worried about someone needing to get hold of you in case of an emergency, you can tell DND to make your phone ring when you get repeat calls from the same number. You can also decide if you want to always allow calls from contacts you've added to your favorites.
8. Make screen text easier to read
With a couple taps on your iPhone's screen you can adjust the font size to make it easier to read. Open Settings and go to Display & Brightness > Text Size where you can use the slider until you're happy with the font size.
For a little added oomph, you can turn on Bold Text (it's just below the Text Size button).
Face ID doesn't always get it right.
9. Add an alternate appearance to Face ID
Apple's facial recognition feature, Face ID, constantly learns and relearns different aspects of your face with each scan. If you're struggling to get Face ID to consistently recognize you, try the Alternate Appearance option.
Go to Settings > Face ID & Passcode > enter your PIN > Set Up An Alternate Appearance and go through the process of enrolling your face again.
Keep your screen dim to save battery life.
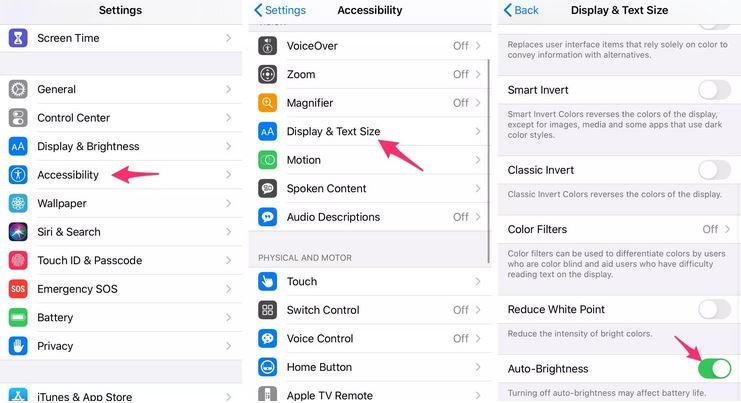
10. Disable auto brightness for longer battery life
Your iPhone's screen brightness level can have a big impact on battery life. By default, iOS will automatically adjust the display's brightness based on how much light the ambient sensor detects. But if you want to take complete control, you can disable auto brightness, meaning whatever you set the brightness level to is what it will stay at until you adjust it again.
Open Settings > Accessibility > Display & Text Size and at the bottom of the page, you'll find a switch to turn off Auto-Brightness.
Now, whenever you want to adjust your screen, you can do so by opening Control Center with a swipe up from the bottom of the screen on a device with a home button, or a swipe down from the top-right corner on newer iPhones.
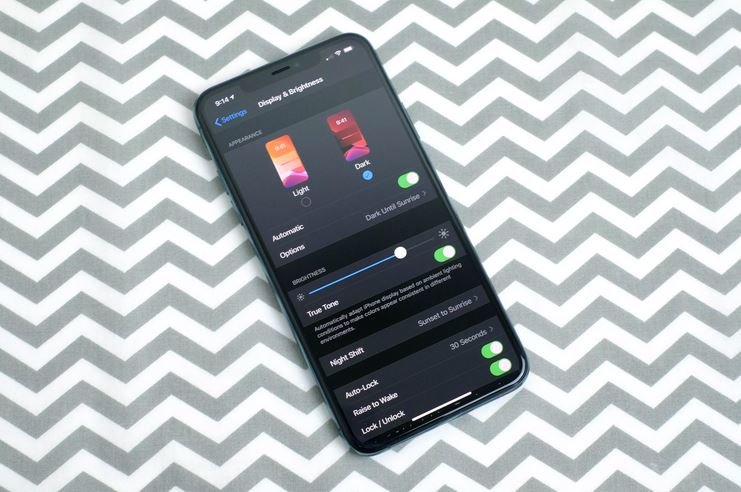
Dark Mode on the iPhone sure looks good.
11. Turn on dark mode. You won't regret it
If you don't want to have to repeatedly adjust your screen's brightness, you can use iOS 13's dedicated dark mode that's been proven to save on battery life. Dark mode converts all of the white backgrounds in apps to, more often than not, a black background. In turn, your phone is able to save battery power thanks to the darker colors.
Turn it on by going to Settings > Display & Brightness and selecting the Dark option at the top of the screen.
Apple's apps will automatically switch to a dark color scheme and most third-party apps have also adopted the feature.
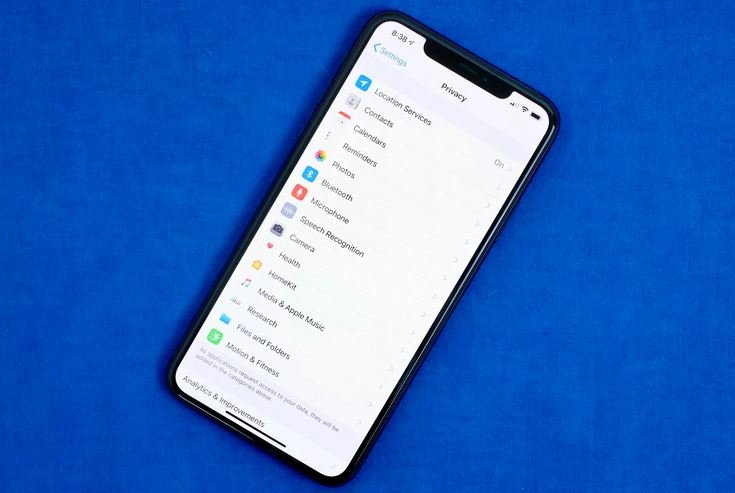
Apple has put all of its privacy controls in one place.
12. Triage your privacy settings
The first time you set up a phone and all of your apps, you're bombarded with prompts asking for permissions to access personal information ranging from tracking your location to your Apple Health information or your camera roll. It's far too easy to get in the habit of approving everything just so you can use the app, but take a few minutes and go through your privacy settings and tailor what each app can and can't see. We walk you through the process in two quick steps.
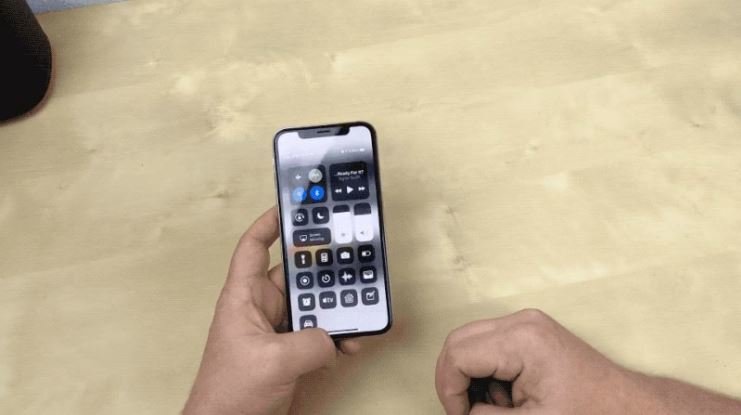
Control Center has a lot of potential, you just have to customize it.
13. Control Center puts everything a tap and swipe away
Control Center is a convenient spot to quickly change songs, turn on airplane mode, connect to Wi-Fi or start a timer, but there's so much more to it than that. You can quickly turn your flashlight on, check on a timer or start recording your screen with a quick swipe and tap.
Customize which apps and features are available in Control Center by opening Settings > Control Center > Customize Controls. Remove an option with a tap on the red minus button or add an option by selecting the green addition button. Drag features up or down using the three-line icon on the right side of the screen.
Personally, I like having quick access to the Wallet app, turning on low-power mode and toggling dark mode.
As a reminder, if you have an iPhone with a home button, like the new iPhone SE, you can swipe up from the bottom of the screen to open Control Center. If you have an iPhone with Face ID, like an iPhone X ($900 at Boost Mobile), XS or 11, you'll need to swipe down from the top-right corner of the screen where the battery icon is.
With your settings tweaked and your iPhone running better than ever, familiarize yourself with the best iOS 14 has to offer, along with some of the hidden features we've dug up.
First published on April 29, 2020 at 3:00 a.m. PT.